
Configuring Actions
Settings → Actions is where you shape the Copy as… menu — the list of alternate formats the HUD offers after a copy. You can reorder the built-in formats, hide the ones you never use, and write your own.
The Copy as… menu
Copy something, hover the HUD, click Copy as… (or press ⌘C while the HUD is up). Every entry in the menu is one format. The first nine can be fired with the number keys 1–9.
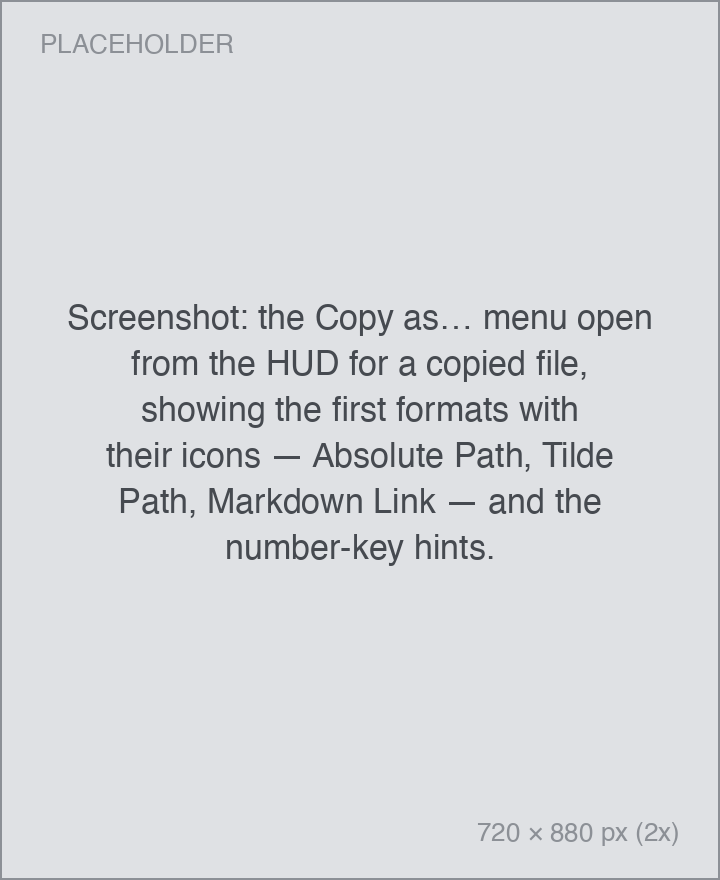
Built-in formats for files and folders
| Format | Example output |
|---|---|
| Git Path | src/image.png — relative to the repository root; only appears inside Git repositories |
| Absolute Path | /Users/you/Documents/image.png |
| Tilde Path | ~/Documents/image.png |
| Tilde Path (Escaped) | "~/Documents/image.png" — quoted for the shell |
| Filename | image.png |
| Enclosing Folder | /Users/you/Documents |
| AppleScript Path | Macintosh HD:Users:you:image.png |
| File URL | file:///Users/you/Documents/image.png |
| VS Code URL | vscode://file/Users/you/image.png |
| SCP Path | MacBook:/Users/you/image.png — for scp and rsync |
| Markdown Link | [image.png](file:///Users/you/image.png) |
| HTML Link | <a href="file:///Users/you/image.png">image.png</a> |
| Absolute Path (ROT13) | /Hfref/lbh/vzntr.cat |
| File hash (SHA-256) | a content checksum — files under 50 MB only |
| Base64 Data URI | data:image/png;base64,iVBORw… — under 50 MB only |
| Base64 data | the file's bytes as Base64 — under 50 MB only |
| Pinza Link | pinza://3F7KQ — a permalink back to this pin; see Power users |
Formats for web links
Any copied URL offers Markdown Link ([Page title](https://…)) and HTML Link.
Context-aware extras
Some pins bring their own formats along:
- GitHub URLs — the repo slug, HTTPS and SSH clone URLs, a ready-made
gh repo clonecommand, and raw-file URLs. - PDFs — plain-text extraction, and Markdown via Mistral OCR.
- Google Drive and Notion — Markdown, CSV, and download options once connected.
- Music — links for a dozen streaming platforms via song.link.
Reordering and hiding formats
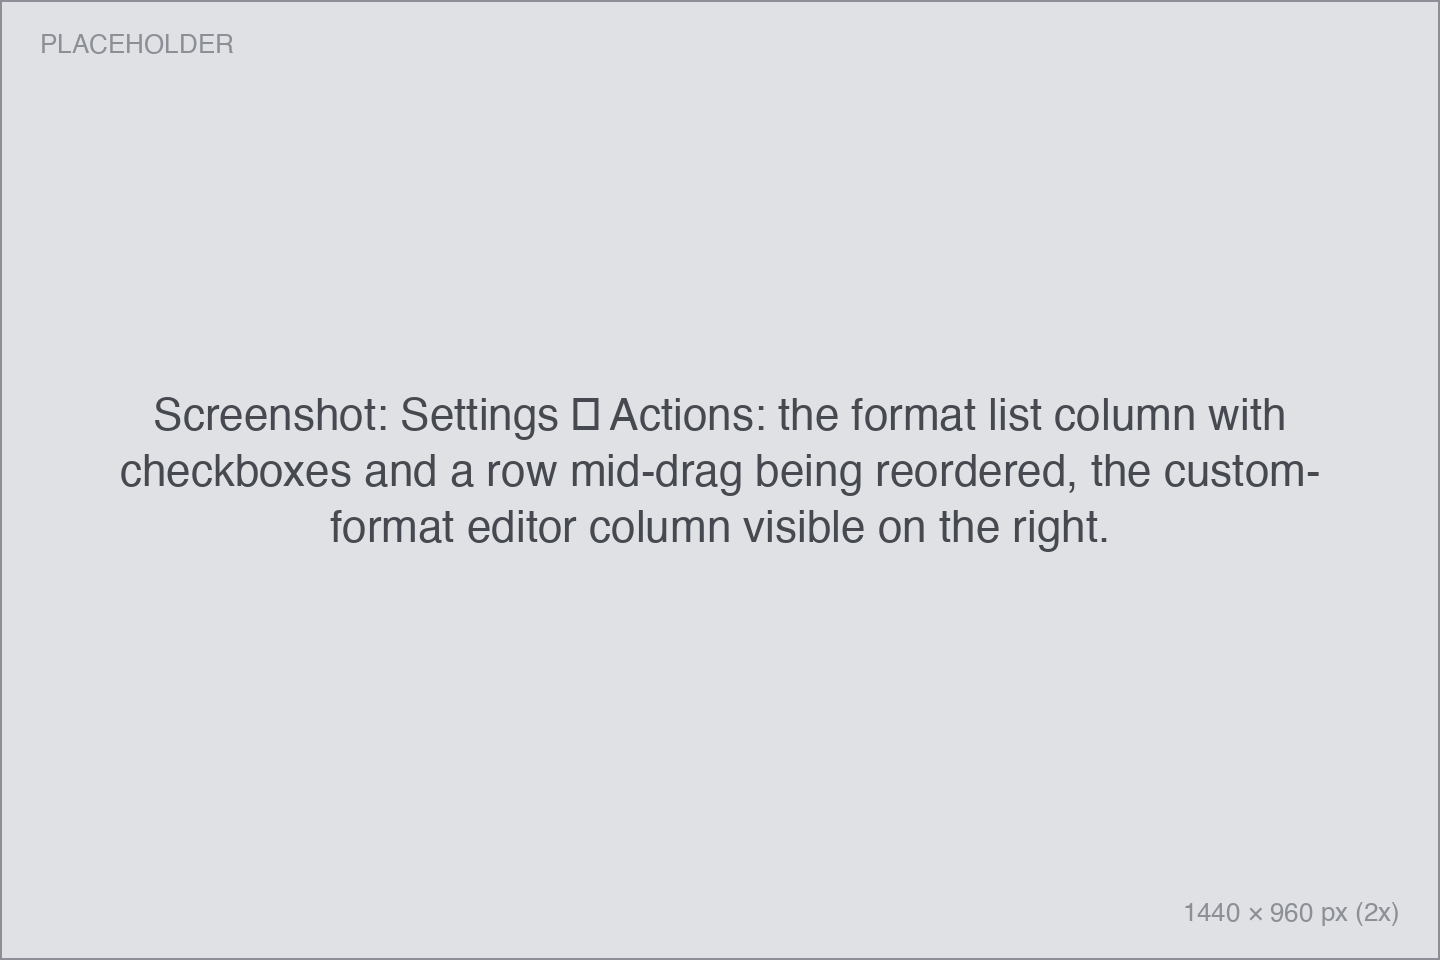
In Settings → Actions, the left column lists every format:
- Drag to reorder. The order here is the order in the menu — put your favorites in the first nine slots so they get number keys.
- Uncheck a format to hide it from the menu.
Writing your own formats
Click Add in Settings → Actions to create a custom format. Custom formats work on file and folder pins. A format is a small template; whatever it produces lands on your clipboard.
Give it a Name (that's the menu label), write the template, and pick how it runs:
![the custom format editor filled in: Name field (“Image dimensions”), the token chips row, a shell template using [full-path], the Run as picker set to Shell Script, and the Some inspiration link.](/img/screenshots/help/custom-format-editor.png "Screenshot: the custom format editor filled in: Name field (“Image dimensions”), the token chips row, a shell template using [full-path], the Run as picker set to Shell Script, and the Some inspiration link.")
1. Text templates
The template is copied as-is, with tokens replaced. Instant, and completely safe.
Example — an HTML image tag for the copied file:
<img src="[file-url]" alt="[basename]">Example — a file reference for a bug report:
[filename] (in [folder])2. Shell scripts
The template runs in zsh and its output is copied. Homebrew's /opt/homebrew/bin and /usr/local/bin are on the PATH, and the script starts in the file's own folder.
Some ideas — these are the same examples behind the Some inspiration link in the editor:
# Copy the file's contents
cat [full-path]
# Count the lines in the file
wc -l < [full-path]# The file's size, human-readable
du -sh [full-path] | cut -f1# Pixel dimensions of an image
sips -g pixelWidth -g pixelHeight [full-path]# The last Git commit that touched this file
git -C [folder] log -1 --format="%h %s" -- [full-path]# Extract plain text from an RTF or Word document
textutil -convert txt -stdout [full-path]# Pretty-print JSON (needs jq, via Homebrew)
jq . [full-path]3. AppleScript
The template runs through osascript and the result is copied. AppleScript formats can also have side effects — reveal the file, show a notification — as long as they return something for the clipboard.
-- Copy the file's Finder comment
tell application "Finder" to return comment of (POSIX file [full-path] as alias)
-- Reveal the file in Finder
tell application "Finder"
reveal (POSIX file [full-path])
activate
end tell
return [filename]-- Show a notification with the file name
display notification [filename] with title "Pinza"
return [full-path]The tokens
Write tokens in square brackets, exactly as shown. The editor has chips that insert them for you.
| Token | Value for /Users/you/Documents/report.pdf |
|---|---|
[full-path] |
/Users/you/Documents/report.pdf |
[folder] |
/Users/you/Documents |
[filename] |
report.pdf |
[basename] |
report |
[extension] |
pdf |
[file-url] |
file:///Users/you/Documents/report.pdf |
In shell and AppleScript templates you don't need to quote tokens. Pinza hands the values to your script through environment variables (PINZA_FULL_PATH and friends), so file names with spaces, quotes, or other odd characters can't break — or abuse — your script.
Previewing
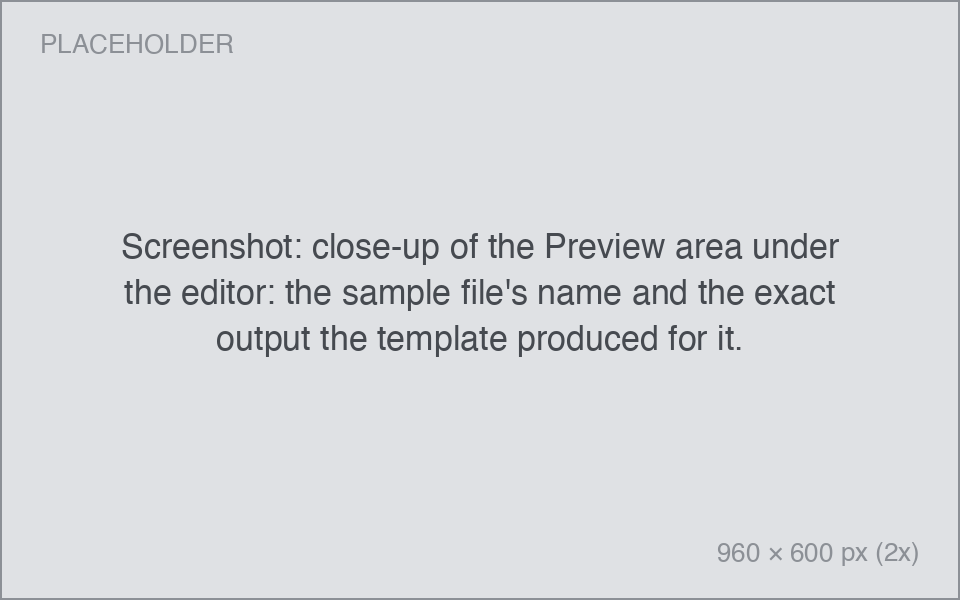
The editor's Preview runs your template against a sample file and shows exactly what would land on the clipboard. Copy a file in Finder and the preview adopts it as the sample.
Guardrails
A few limits keep custom formats safe and snappy:
- Destructive commands are refused. Templates containing
rm,sudo,dd,kill,shutdown, and similar won't save and won't run. - Content-reading templates know their limits. A format that reads the file's contents (
cat,head,grep, …) is greyed out in the menu for folders, binary files, and files over 10 MB. - Scripts get 10 seconds to finish and may produce up to 1 MB of output.
Where custom formats live
Your formats are part of Pinza's settings and are mirrored to the plain-JSON config file at ~/.config/pinza/config.json under actions.copyFormats — handy for versioning them in dotfiles or copying them to another Mac. See Power users.