
Getting started
This tutorial takes you from download to your first copied link. It takes about five minutes, most of which is macOS asking for permission.
What you need
- A Mac running macOS 14 Sonoma or newer. Pinza is a universal binary and runs natively on Apple silicon and Intel.
- That's it. No account, no sign-up.
Install Pinza
- Download Pinza from pinza.app/download.
- Open the downloaded disk image and drag Pinza to your Applications folder.
- Open Pinza. It appears as a paperclip icon in your menu bar — there is no Dock icon and no main window. That's normal.

On first launch, Pinza shows a short onboarding that walks you through everything on this page: the apps it detected on your Mac, the keyboard shortcut, and the permissions. If you skipped it, you can bring it back anytime under Settings → General → Show onboarding again.
Grant the two permissions
Pinza reads the frontmost app the moment you press the shortcut — and macOS rightly wants your consent for that. Two permissions are involved.
Accessibility
This is how Pinza knows which window you're looking at and reads its title or selection.
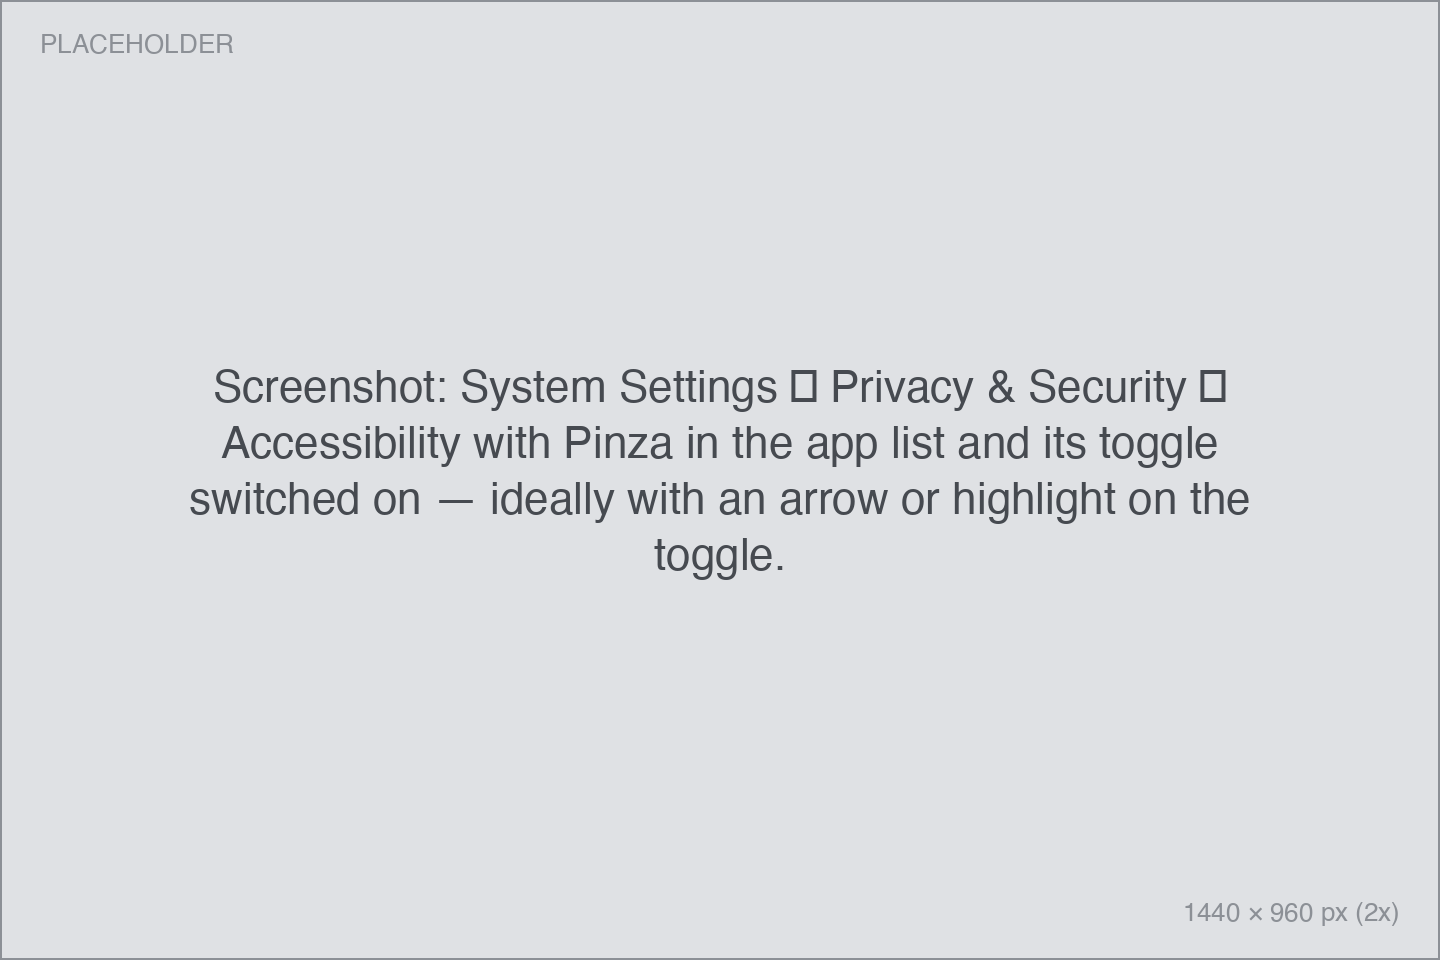
- During onboarding, click Open System Settings. (Or go to System Settings → Privacy & Security → Accessibility yourself.)
- Toggle Pinza on.
Automation
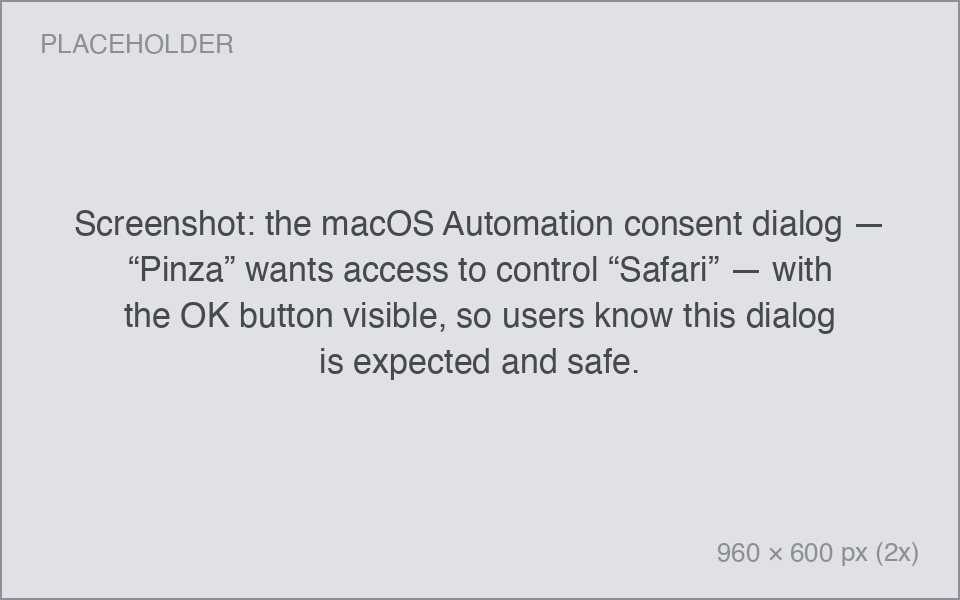
The first time Pinza asks a particular app for its URL or file path, macOS shows a one-time dialog: "Pinza" wants access to control "Safari". Click OK. You'll see this once per app, not every time.
If you click Don't Allow by accident, fix it under System Settings → Privacy & Security → Automation — see Troubleshooting.
Meet your two shortcuts
Pinza has exactly two global shortcuts. They work everywhere, no matter which app is focused:
- The Copy shortcut — copies the most useful reference from the app you're in.
- The Recents shortcut — opens your list of recent pins.
Onboarding suggests a shortcut when you set Pinza up. To check or change what yours are, open Settings → Shortcuts. The rest of this documentation simply says "your Copy shortcut" and "your Recents shortcut".
Copy your first link
- Open Safari (or any browser) and go to any page.
- Press your Copy shortcut.
- A small card appears near the bottom of your screen: the page title, its URL, and a confirmation that it's on your clipboard. This card is the HUD.

- Switch to Mail, Notes, or a chat and paste. The URL is there.
Now try the same in Finder: select a file and press the Copy shortcut. Pinza copies the file's path, ready to paste into a Terminal window, a save dialog, or a message. Every app copies whatever is most useful for that app — Supported apps lists what you get where.
What just happened
Each copy becomes a pin: an entry in Pinza's history with the title, the link or path, and a preview. Pins are how you get back to things later. They're stored on your Mac in an encrypted database, and the free version keeps your latest 25.
Reopen something
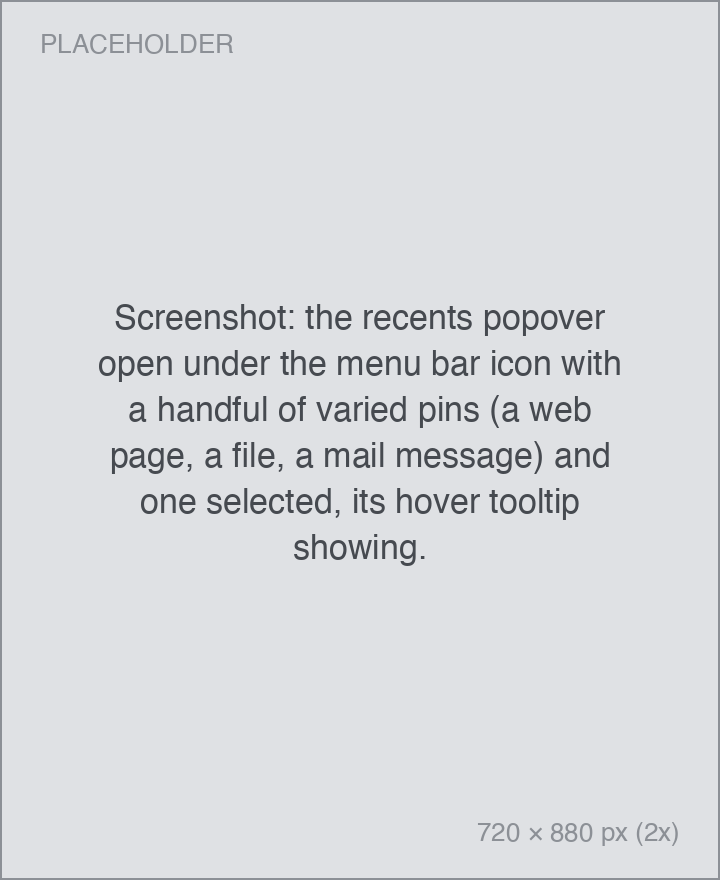
- Press your Recents shortcut, or click the paperclip icon in the menu bar.
- Your recent pins appear, newest first.
- Select one and press ↩ to open it — the browser tab, the file, the mail message.
That's the loop: copy with one shortcut, return with the other.
Where to go next
- Example use cases — ten practical things to try first.
- The HUD — the card you just saw can do much more than confirm.
- Integrations — connect Notion, Google Drive, Raindrop.io, and others.